Third Party Integrations
The third party integrations listed here do not include X-Ray systems. We integrate with a very large number of X-Ray systems and for that reason we have a seperate tutorial page that can be found here. If you would like to know more about the systems we integrate with please call 0116 275 9995.
Instant Messenger
The instant messenger integration allows you to message between computers within the practice in real time – therefore quick and easy communication with little effort.
First Time Setup
1) Go to Integrations -> Instant Messenger to download the application.
Please Note: This instant messenger is only supported by Window 8 and above.

2) Click through the Squiggle setup using all the default options.
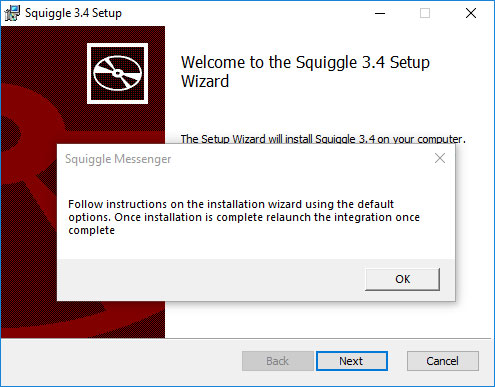
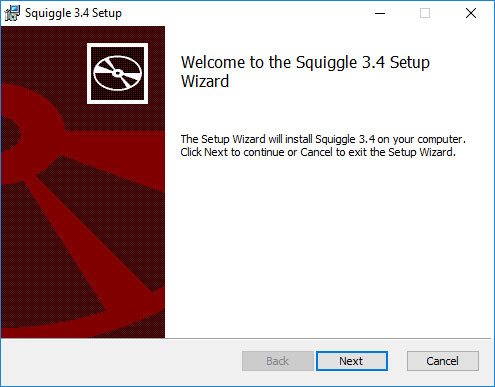


3) Once the setup is complete launch the messenger again through Pearl (Integrations -> Instant Messenger).
4)Enter a name to display to other users. Choose a group (this isn’t necessary but does group users more effectively).
5) Tick Remember Me and Sign Me In Automatically if you wish to always login to the Messenger with these settings.
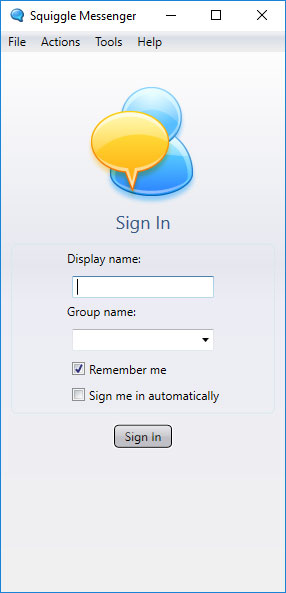
6) You may need to give the program permission through your firewall from time to time. To make sure the program can communicate over both network types, click Allow Access. Cancelling this dialog will cause the messenger to fail to work.
7) Squiggle has various settings that can be changed through Tools -> Settings to tailor the program to your liking.

Using the Program
1) First of all, open the program by going to:
a) Pearl -> Integrations -> Instant messenger.
Or
b) Desktop -> Squiggle.
2) Enter you log in details (if needed).
3) Once signed in, the program will show you a list of users currently online.
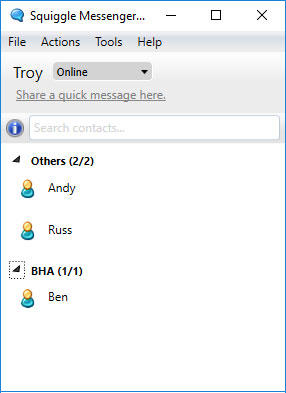
4) Finally, to start messaging simply double click on one of the users.

Please Note
- Squiggle can run on Windows 8 and above
- It can be made to launch on start-up by going to Tools -> Settings -> General -> Run on windows start-up
SMS & Text Messaging
The SMS credits are used to send Text Messages to patients for various reasons such as appointment reminders & recalls or for marketing & promotions. Find out how many SMS credits remain on your account by going to ‘SMS Credits Remaining‘ in the menu.

1) Go to Integrations -> SMS -> Add SMS Credits
2) Choose the number of credits you wish to add to your account and press Request SMS Credits
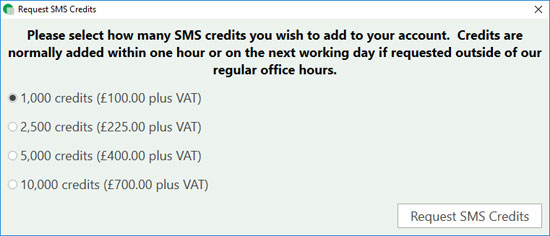
Please Note: The price of the credits is simply added onto the next direct debit payment for the practice unless you have specified otherwise.

Google Calendar
The Google calendar integration allows you to sync your Pearl appointment book and your Google account’s calendar. You can then view the calendar on signed in devices and /or share with other users so that you can view diary appointments on mobile devices.
First Time Setup
1) Log into a Google account that you want to sync your Pearl diary to. (Usually a practice account registered under the practice email but you can use a personal account as well).
2) Call us on 0116 275 9995 so we can set up your account with you. We may require you for around 15-25 minutes to enter passwords to confirm developer changes to your account. This is a one off set up.
Pushing to the Calender
To update the calender ‘push’ your appointments regularly. Leave this process to run in the background, please note that it can take around 10 minutes depending on number of appointments and number of months you want to push/sync.
1) Go to Utilities -> Google Calendar -> Push.
2) A dialog will appear showing the calendars update progress. You can move the dialogue to the corner of the screen and continue working on Pearl in the background. Please Note: This will only clear and update your specific Pearl dentist calendar in Google calendars with your current appointments in your Pearl diary. It will not affect your personal calendar.

3) When the push is complete, a Success dialog will show.

4) View your calendar by heading to calendar.google.com or the calendar app on a logged in device.
Please Note: Each practitioner is put on a separate Google Calendar which enables you to share the calendars individually. This allows you to share each calendar to the relevant performer so they can view only their own diary.


